
Bike Storage UK: How to Keep Your Bicycle Safe, Dry and Ready to Ride All Winter

Winter is when many bikes get wheeled into a shed, forgotten behind the lawnmower and discovered again with a suspicious orange tinge. A little preparation now can help keep yours clean, protected and ready for that first sunny ride.
Whether you’re storing one bike for the season or making space at home, this guide covers practical bike storage at home and when a self-storage unit may be a better fit.
Why winter bike storage matters
Cold weather itself isn’t the only thing to worry about. Rain, condensation, road salt and damp can all take a toll on metal parts. Salt and grit left on your frame or drivetrain can encourage corrosion, while a bike stored in a damp space may need more attention before it’s ride-ready again.
Then there’s security. A locked shed or garage can still be vulnerable, and bikes are valuable, easy to recognise and tempting to thieves.
A dry, secure storage spot helps protect your bike and gives you one less thing to worry about. Simple. Sheltered. Sorted.
Step 1: Clean and dry your bike before storing it
Before putting your bike away for more than a few days, remove mud, grime and road salt. You don’t need to give it a dramatic spa treatment: a careful wipe-down is a good start.
Wipe the frame, wheels and underside with a damp cloth and suitable bike cleaner.
Clean the chain and drivetrain, then apply a little bike-specific lubricant.
Wipe away excess lubricant so it doesn’t attract more dirt.
Dry the frame, chain, bolts and other metal parts thoroughly.
Keep oil and cleaner away from brake pads, rims and disc rotors.
If you’ve been riding on gritted roads, cleaning is especially worthwhile. Cycling UK also recommends keeping a bike indoors where possible and maintaining its tyres during storage. See its advice on winter bike care.
Step 2: Choose the driest practical place
A garage or shed can work if it’s reasonably dry and secure. But a roof doesn’t automatically mean a bike is protected. Leaks, damp floors and condensation can turn a useful storage spot into a slow-motion rust experiment.
Before settling on a space, check for:
Water ingress or visible damp.
Poor ventilation and signs of condensation.
A floor that stays wet after rain.
A door or window that is easy to force.
Keep the bike off the floor if it’s wet, and leave enough room for air to circulate. A breathable bike cover can help keep dust off, but only cover a clean, completely dry bike. Avoid wrapping it in airtight plastic, which can trap moisture.
If your shed is already doing double duty as a home for gardening tools, muddy boots and three mystery boxes, an indoor self-storage unit may provide a more practical alternative. It offers a separate place for the bike, with full access when you need to check it or get it ready for a ride.
Step 3: Store it upright, hanging or on a stand
Hanging a bike can save floor space, particularly if the household bikes are multiplying like rabbits. Use a proper rack or hook and support the bike by its frame or wheels as the rack is designed to do.
Avoid putting weight on delicate components such as brake hoses, cables or the derailleur. If lifting the bike overhead sounds like an Olympic event, choose a stable floor stand instead.
If the bike will rest on its tyres:
Inflate them to the pressure range recommended by the tyre or bike manufacturer.
Check the pressure about once a month, as tyres slowly lose air even when unused.
Make sure the bike is stable and won’t be knocked over by boxes or other stored items.
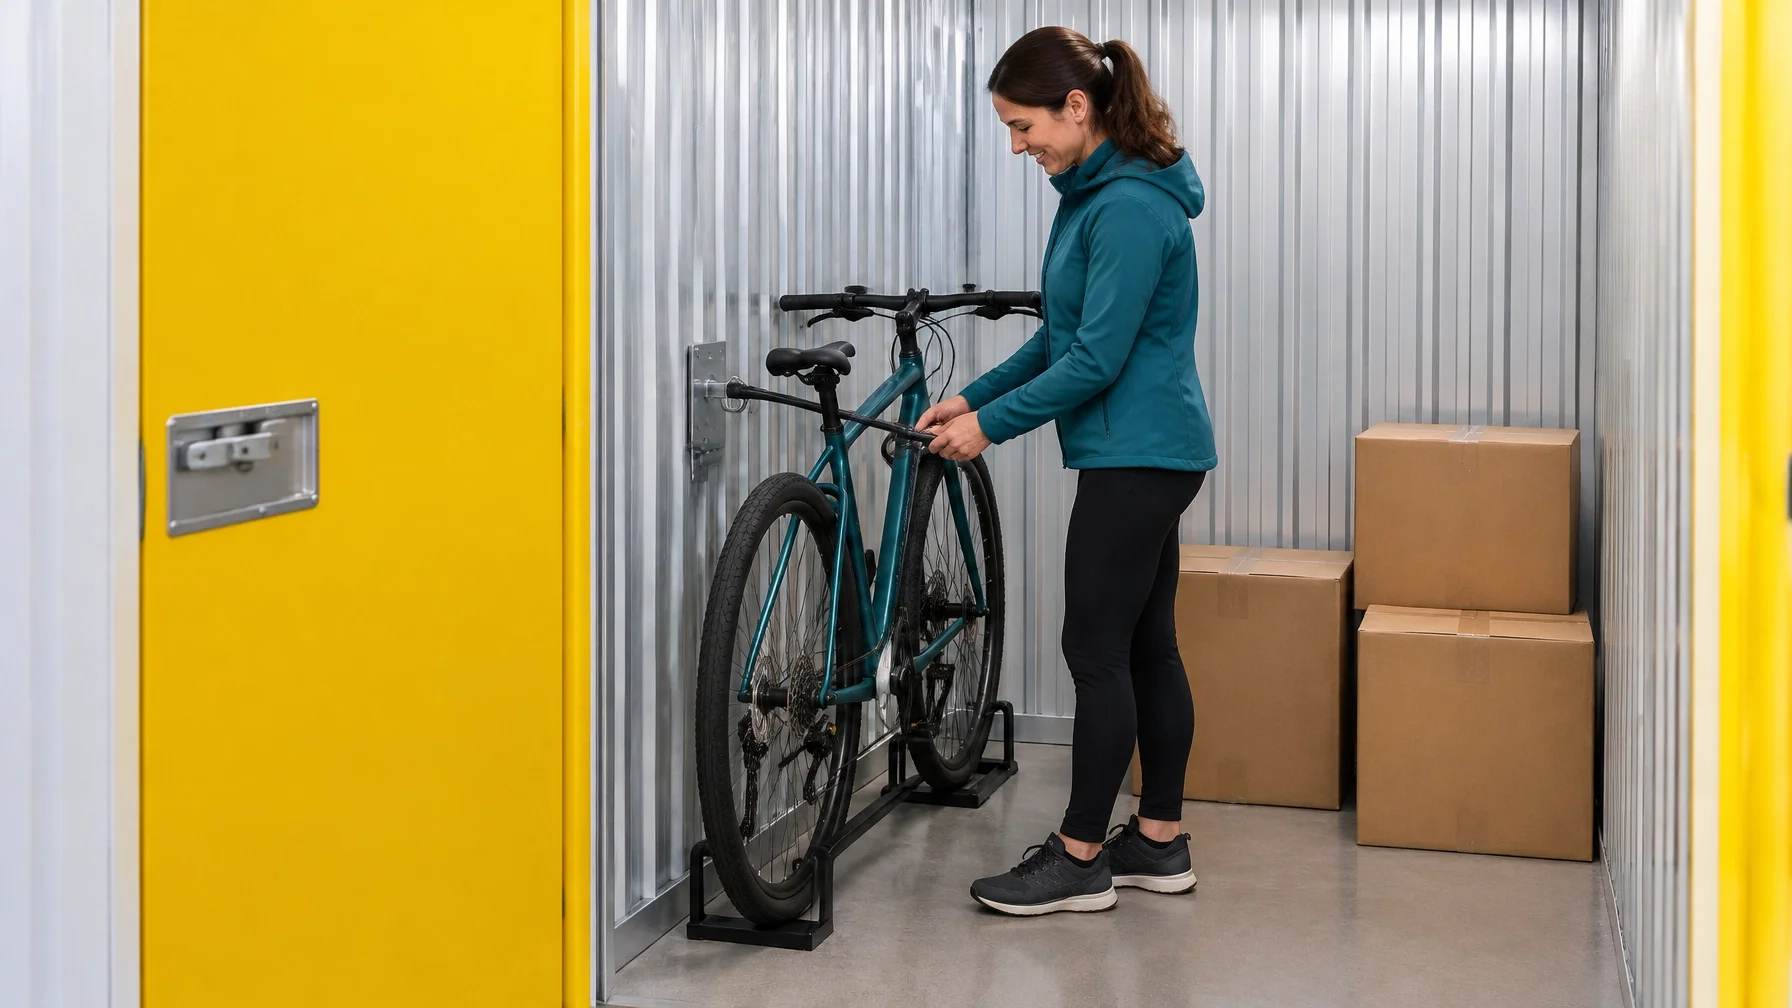
Step 4: Decide whether a self-storage unit makes sense
Bike storage at home may be perfectly fine if you have a dry, secure space and enough room. A storage unit is worth considering if your shed or garage is damp, insecure, packed full, or needed for something else.
It can also help if you’re moving house, renovating, downsizing or sharing a home with several cyclists. Rather than turning the hallway into a bike obstacle course, you can keep seasonal gear and bikes in one place and still visit your unit.
Ease the Squeeze offers traditional self-storage with full access. Depending on the location, options include indoor units, secure wooden containers and outdoor shipping containers with drive-up access. For a bicycle you want to keep sheltered through winter, ask the team which available unit type is the best fit; storage options and availability vary by site.
One bike usually needs far less room than you might think, but allow space for its handlebars, pedals and any accessories you’re storing alongside it. Two bikes, a bike rack, helmets and maintenance kit need more. If you’re unsure, our guide on choosing the right storage unit size can help you think through what needs to fit. A quick conversation with the team can also help you avoid renting more space than you need.
Step 5: Add a layer of security
A storage unit can give your bike a dedicated place away from a shed or garage at home, but it’s still sensible to secure the bicycle itself.
Use a quality lock through the frame and, where practical, a wheel.
If you’re storing more than one bike, secure each one separately.
Don’t assume that locking a building or unit door is a substitute for locking the bike.
Ask the storage team what fixings or anchors are permitted before attaching anything to a unit.
Check your bike insurance policy for any requirements about locks, storage locations or security ratings.
Cycling UK’s guide to bicycle storage and security at home explains why a locked shed alone may not be enough and why your insurer’s policy wording matters. Keep a note of your bike’s make, model and frame number, and take a few clear photos for your records.
Pro tip: Remove lights, cycle computers and other easy-to-detach accessories before storage. For an e-bike, follow the manufacturer’s guidance for its battery; don’t leave a battery charging unattended.
Step 6: Give the bike a quick check before your next ride
When winter gives way to better cycling weather, uncover your bike and give it a calm once-over before setting off.
Check tyre pressure and look for cracks, cuts or bulges.
Test the brakes and check the wheels spin freely.
Inspect the chain and gears, and lubricate the chain if needed.
Check lights and any accessories you removed.
Take a short, gentle test ride and listen for anything unusual.
If you spot damage, significant rust or a brake problem, get it checked before riding normally. A few minutes of inspection is much nicer than discovering a problem halfway up a hill.
Find bike storage in Exeter, Edinburgh or Ely
If you’re looking for a secure storage unit for your bike this winter, Ease the Squeeze has locations in Exeter, Edinburgh and Ely. Storage starts from £12 per week at selected locations and sizes; prices exclude VAT and availability varies. We offer zero hidden fees, and you can ask our friendly team about the most suitable option before booking.
You can also browse our blog for seasonal storage advice and keep an eye out for our Autumn Clear-Out guide.
Ready to make room at home and give your bike a better winter? Explore your local storage options or call us on 0330 678 5150. Book online in minutes, then enjoy a clearer space and the peace of mind that your bike is stored with care.
Clean it. Cover it. Check it. Your bike will be ready when you are.